Spring cleaning in 7 steps
Do you feel it already? Slowly but surely we are leaving the cold and wet winter weather behind us, the birds are starting to sing, nature is turning
But with spring comes another thought...spring cleaning in the stable!
For me, the end of winter is always the perfect moment to clean the stable thoroughly and tidy up everything that has accumulated over the winter. Today, I am taking you along with me through my cleaning routine.
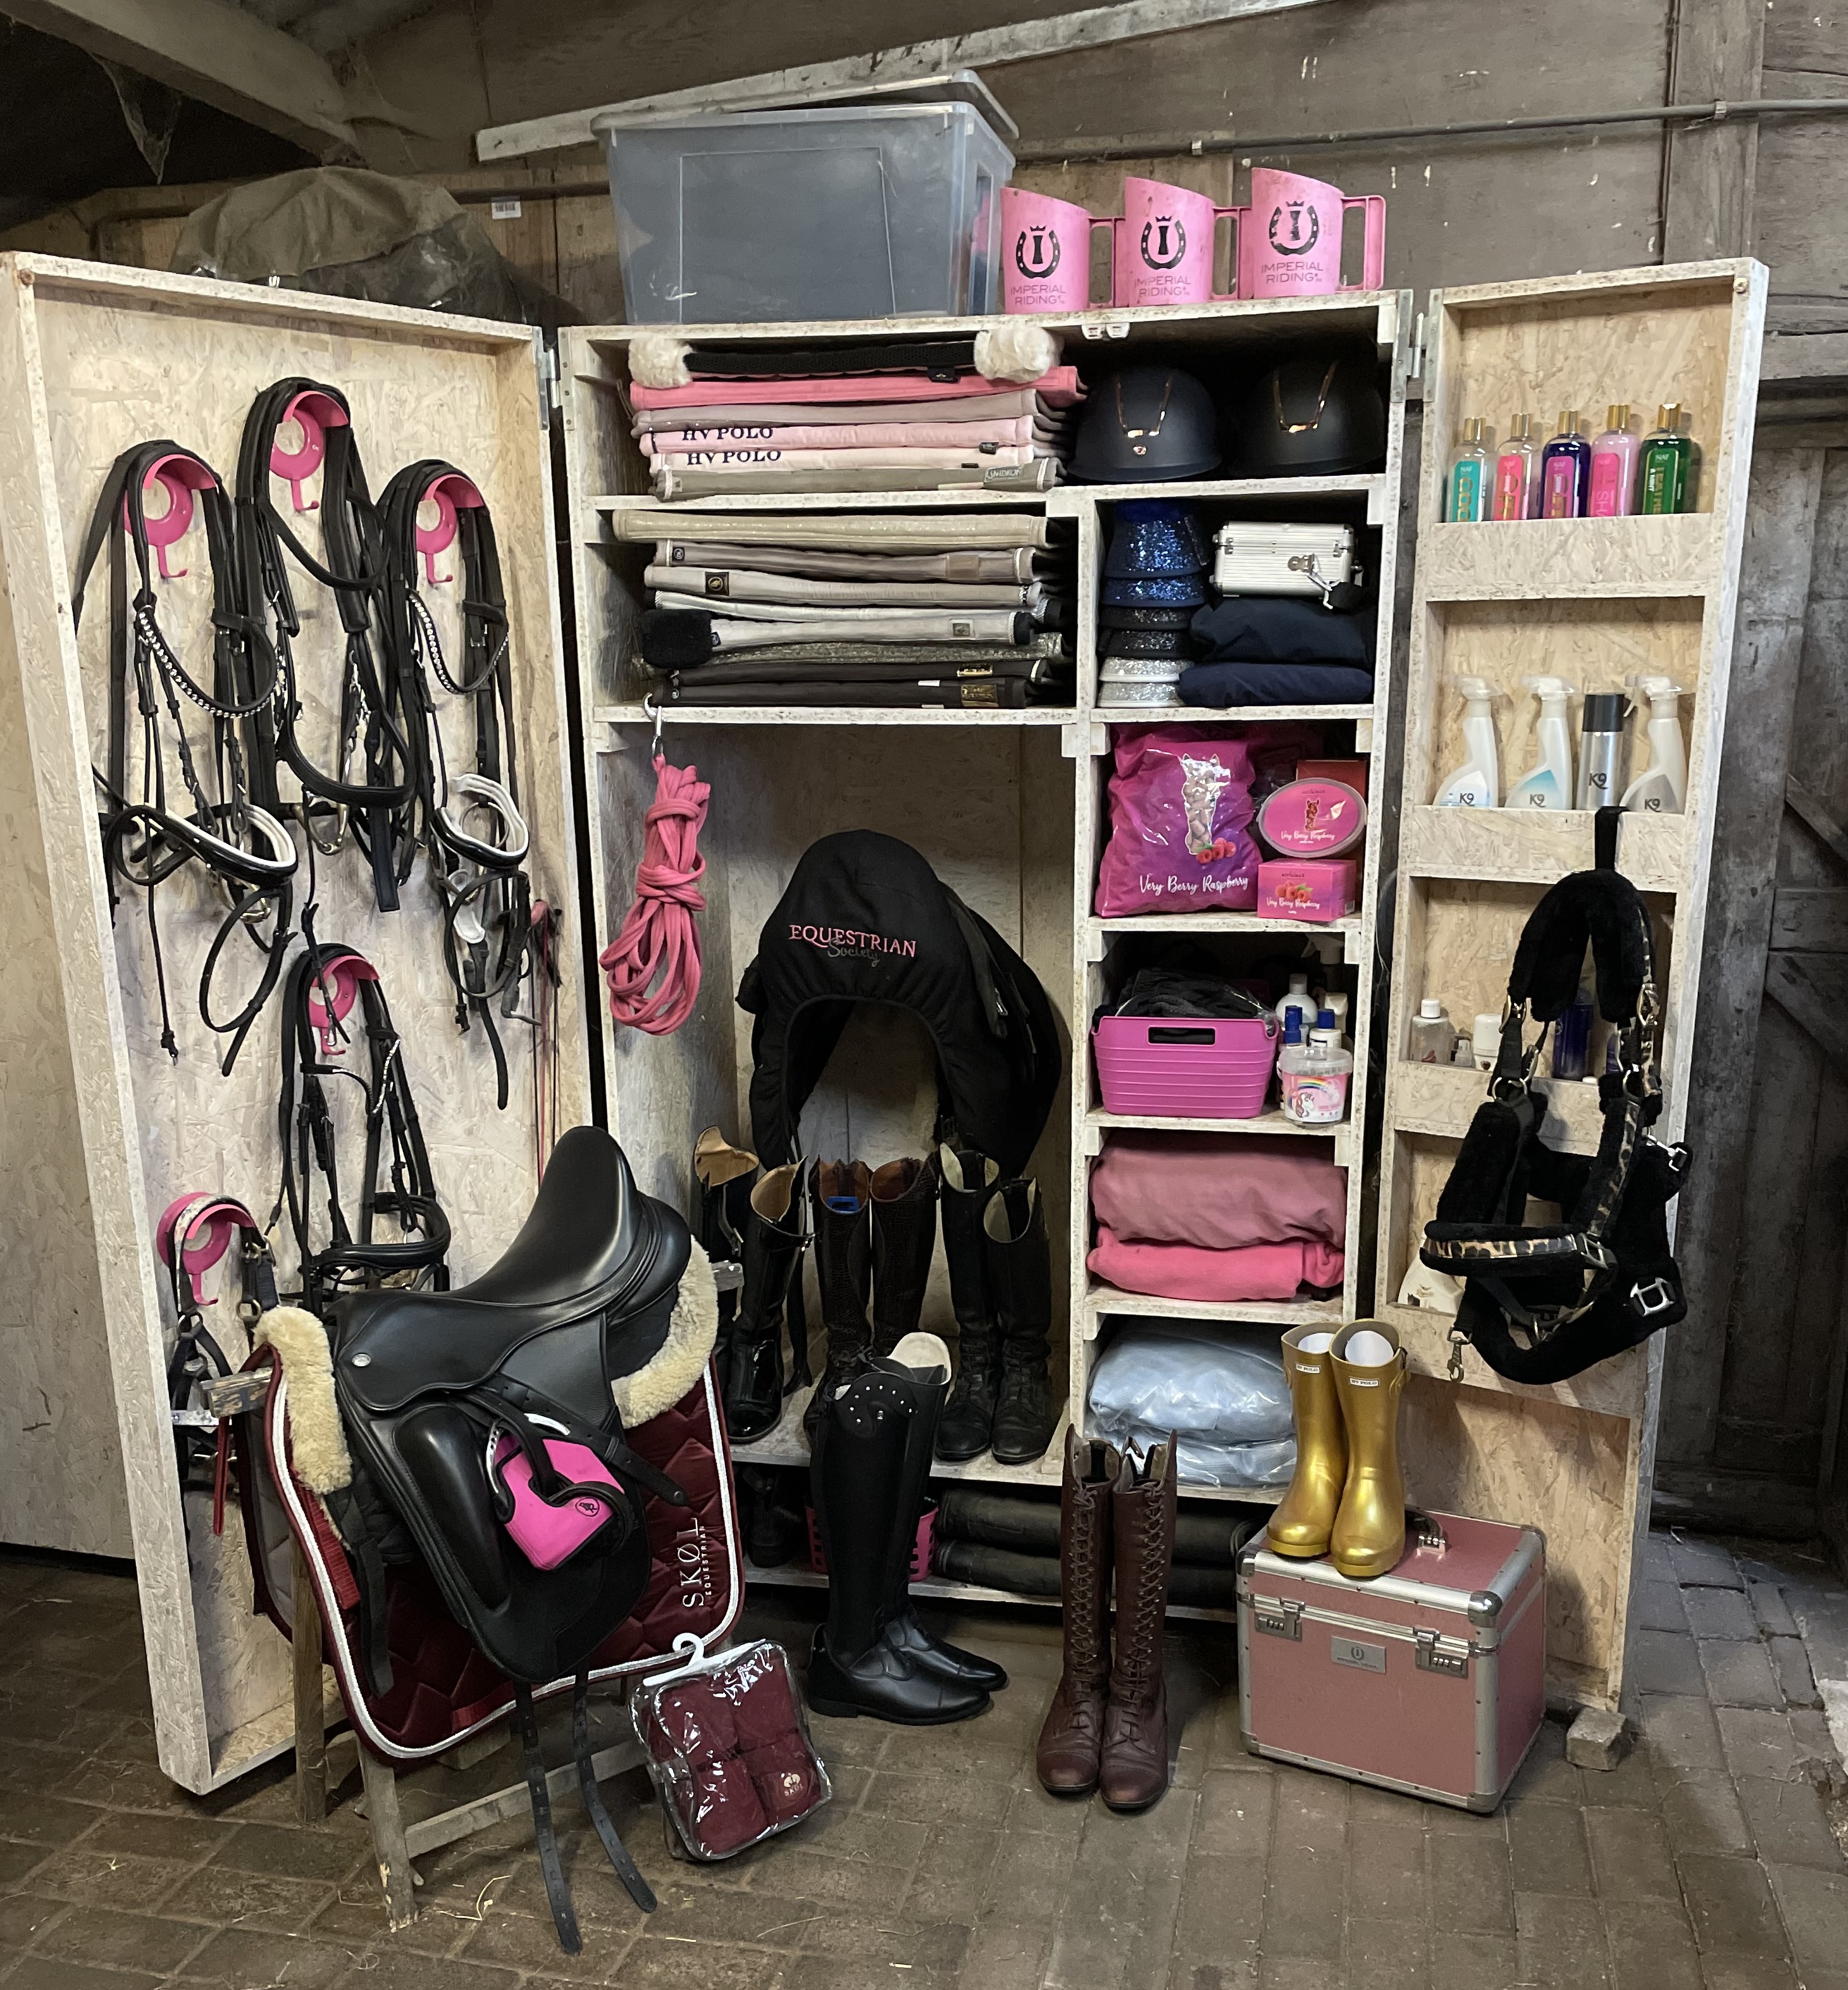
1. Sorting the tack locker
I usually start with my tack locker, because things that I don't need every day or that need to be cleaned tend to accumulate there over the winter. To do this, I clear out my tack locker completely and directly sort out whether I want to keep the item in the stable or take it home with me. Once the locker is empty and clean, I sort everything that can stay back into it. For extra storage space, I hung the Horsegear locker organizer on the inside of the door, which is perfect for brushing boots and other small items. Together with the tack locker, I also sort out my first aid box, check what needs to be refilled or replaced due to expiration date, so that I am fully prepared for all the minor aches and injuries my clumsy friend might end up with.
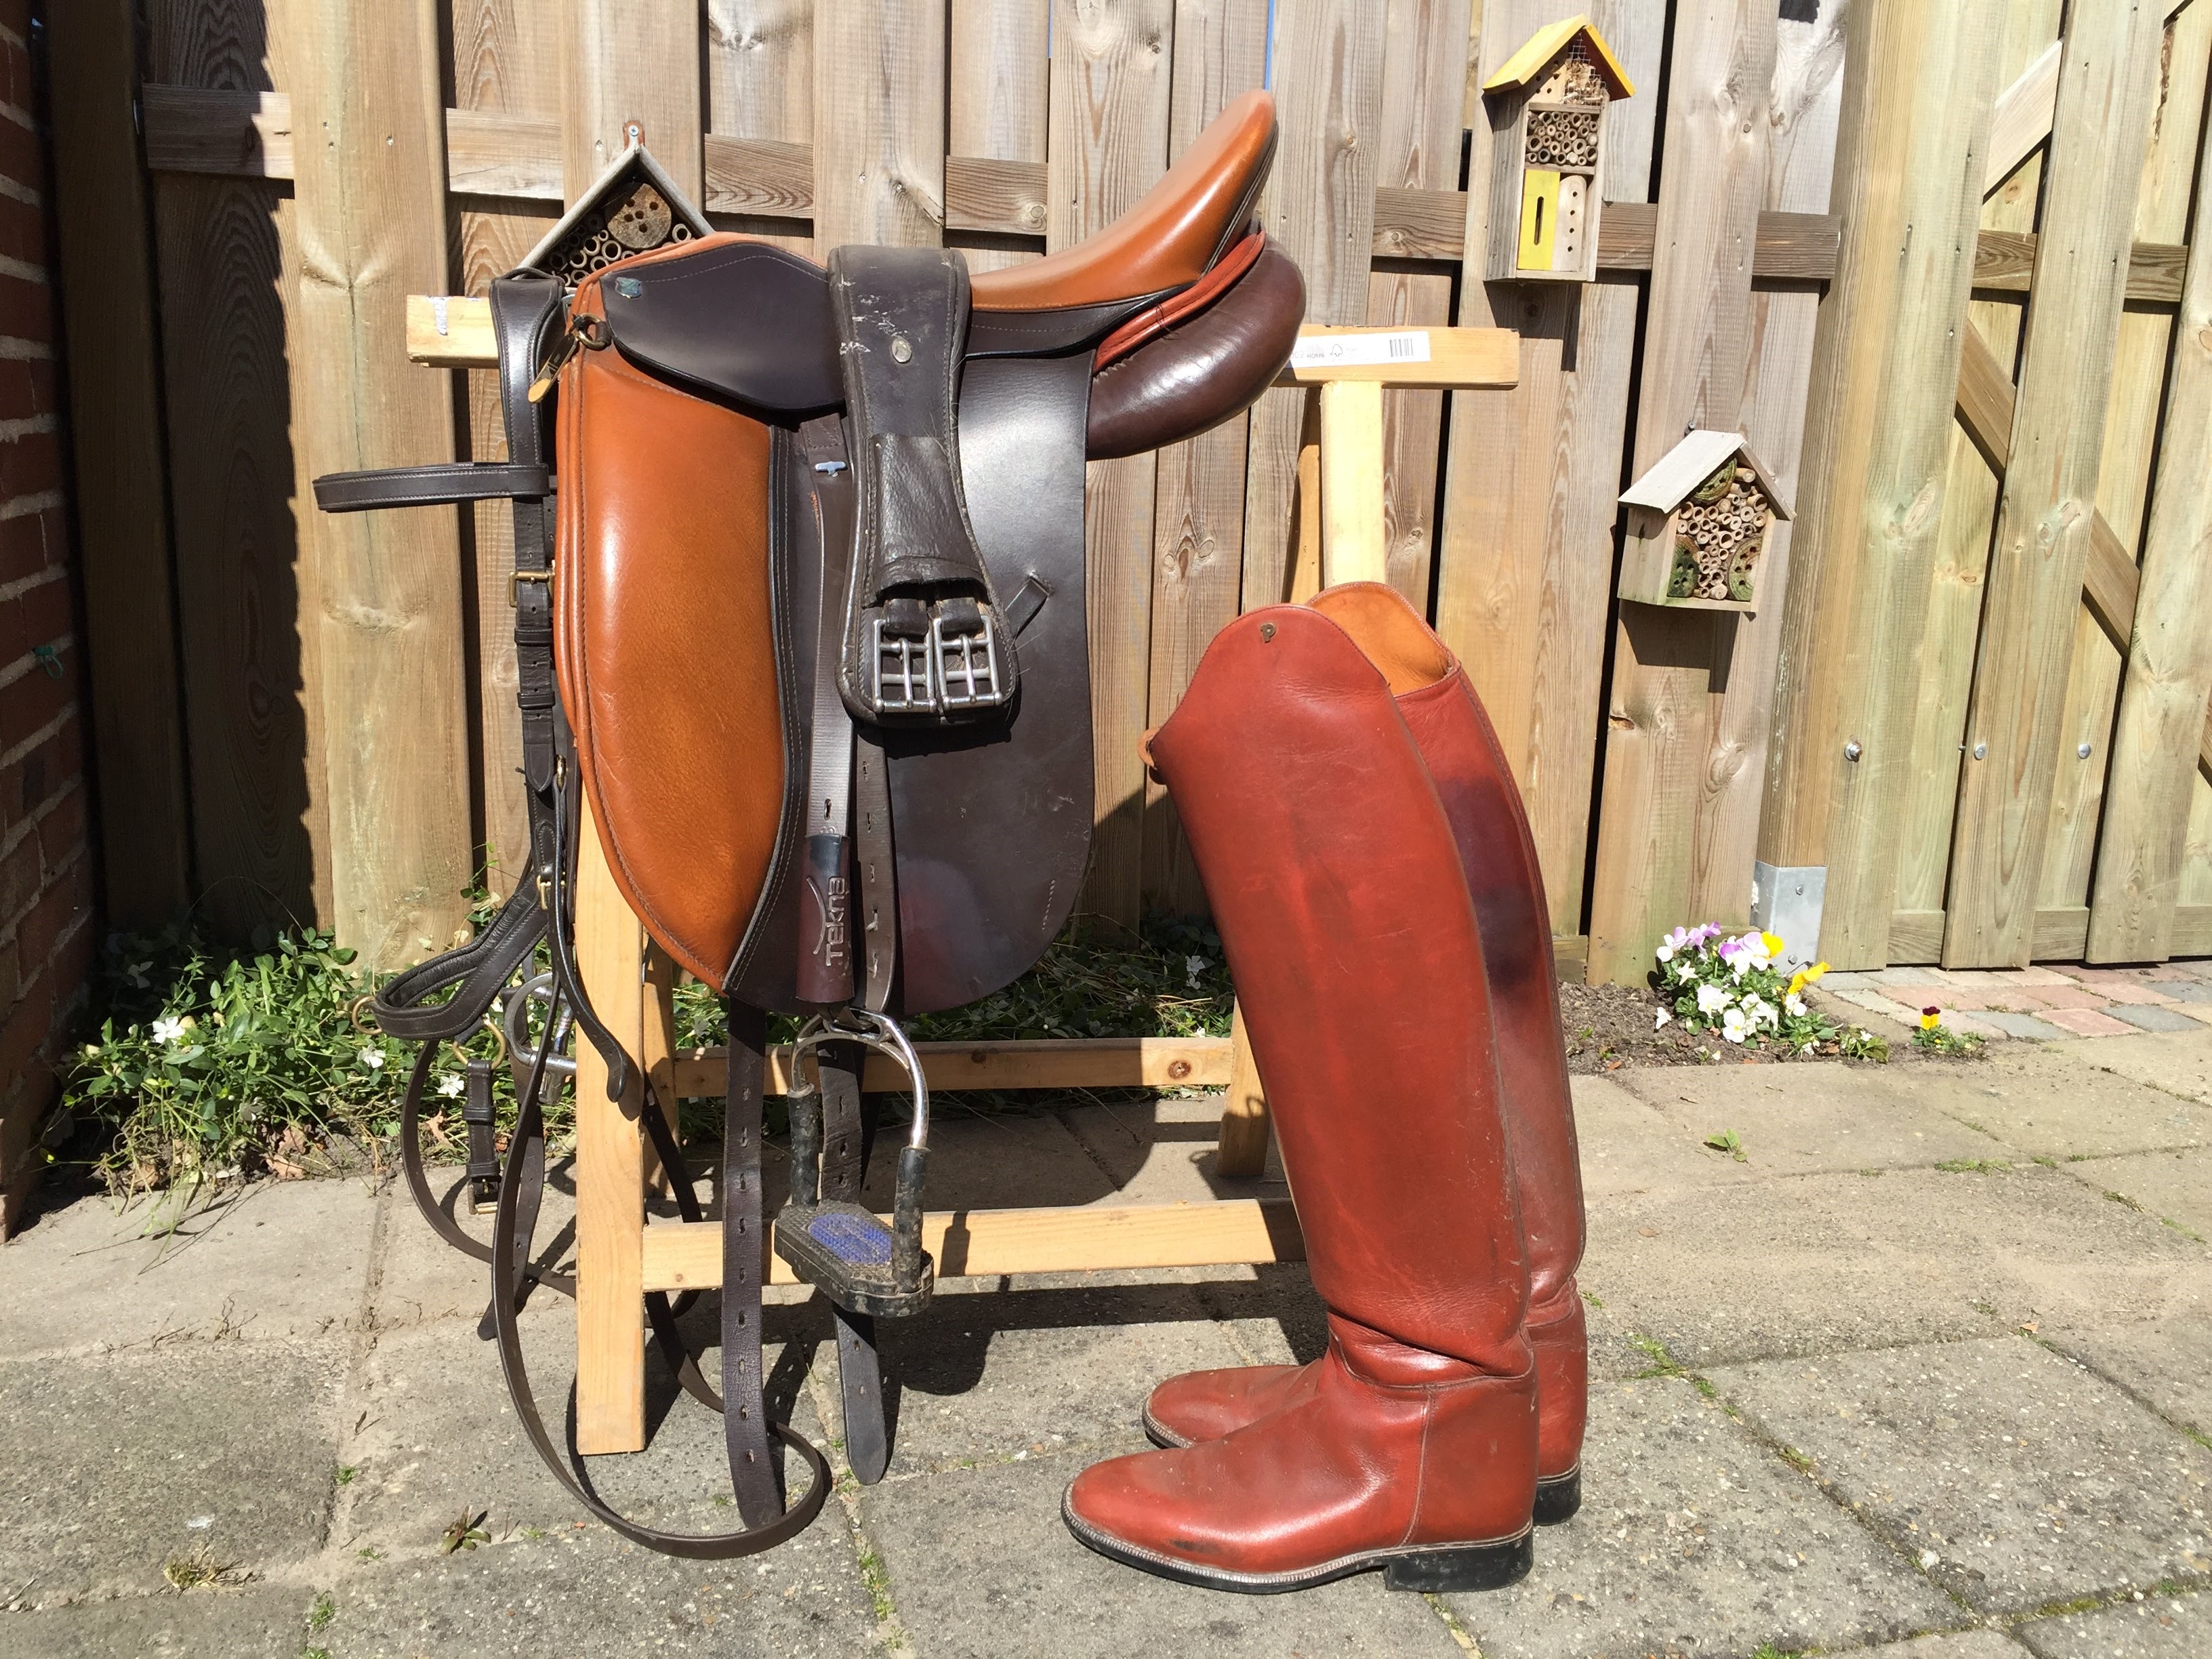
2. Saddle and leather care
The second step is all about my saddle, bridle and other leather accessories of my horse. In order to clean the bridle effectively, I dismantle it into its individual parts. I also spread out a soft towel, on which I lay the clean parts so that they don't get dirty again. After that is done, I put my saddle cover in the washing machine and put the bit and my stirrups in tepid water so that they can soak. Lastly, I clean my saddle, bridle and other leather accessories, such as my girth and breastplate, with a soft sponge, tepid water and leather soap so that dirt, dust, skin grease and dried sweat can be removed. You can also use a soft microfiber cloth, as long as the cloth or sponge does not lose lint and is not too scratchy.
Tip: Don't forget to clean and grease the bottom side of your saddle. This is the part of the saddle that first comes into contact with your horse's sweat, which strains the leather particularly.
When I have cleaned everything with the saddle soap and the leather has dried, I take a dry sponge or cloth to apply the leather grease. I rub it in evenly and put it back on the towel to dry. This allows the grease to soak deeply into the leather to keep it supple. Then I wipe again with a fluffy lambskin glove and reassemble everything. Finally, I clean the bit and my stirrups, dry them and buckle them back onto the bridle and saddle.
3. Rugs and saddle pads
As soon as it stays consistently warm and my horse no longer needs its winter rug at night, I hand it in at the horse rug laundry service. That way, the blanket is professionally cleaned, impregnated and any damage is repaired. Afterwards, the blanket goes into my "summer storage", where it waits for the coming season.
Tip: Always clean your rugs before you put them away for a long time, otherwise the dirt can settle into the material and also damage the waterproof coating.
I clean the cooler rugs and saddle pads myself. To do so, I remove loose hair as well as possible with a magic body brush or with this great tool. Once I've brushed everything out as well as humanly possible, I put one cooler rug and a maximum of two saddle pads in my washing machine. I like to add one or two pairs of brushing boots (as long as they are machine-washable) because the soft rug or saddle pad ensures that the thumping of the brushing boots is not too loud. I make sure that all the Velcro fasteners are closed so that they cannot be damaged.
Alternatively, you can clean the gear in the bathtub, or outside with a pressure washer, if the weather allows for that. If you don't want to do it yourself, many horse rug laundry services also offer rates for saddle pads, brushing boots & co. When finished, I put everything in rug cases or saddle pad bags so that nothing is lying around loose at home, but can be stacked neatly and stays clean.
4. Grooming supplies

Only clean supplies can free your horse of all dirt and dust! If my dandy brush is encrusted with mud and the sand of the last few months sticks to the curry comb, I can't get my horse clean even with the best intentions. That's why the entire grooming kit needs to be cleaned thoroughly, every now and then.
So, dump out the grooming box and let’s go! For my brushes, I fill a large bucket with warm water and add soap or shampoo as well as a little bit of disinfectant. Then I put the brushes into the bucket and let them soak. In the meantime, I wipe out my grooming box and sort out all the other things that have accumulated in it. Back to the brushes,
I clean each brush individually in the water, tap off excess water and then lay them out to dry with the bristles facing upwards, preferably
in the sun. While being at it, I check whether it is time to say goodbye to one or the other
brush and whether I need to buy a new one.
When everything has dried, I put my grooming box away and store it in the tack locker.

5. My equipment
In the next step, I have a look at my equipment. At first, I clean my riding boots with a
suitable boot care product (make sure that the care product is suitable to be used for the
material!) and, if necessary, a compatible shoe polish so that the colour becomes deep and saturated again. I also take the liner out of my riding helmet and wash it. Additionally, I use a cleaning-and disinfecting spray for the inside of my riding helmet, so that it smells fresh again.
On the outside, I clean my riding helmet with a soft, damp cloth.
Before I put away my riding boots and helmet, I also clean my helmet bag and boot bag, wipe
out all the compartments and remove any sand and dirt that has accumulated.
Lastly, I wash my riding gloves and any single or damaged ones end up in the trash. Since there
is such a large selection, from which one or two models have already caught my eye, it might happen that a few new gloves will be added to my collection soon!
6. Box and Stable
This step might not apply to everyone, but for me, it is part of spring cleaning. I remove all spider webs from my horse's box and, if necessary, also from the stable alley and wipe out the feeding trough and drinker. If possible, in consultation with the stable owner, I empty my horse's stall, scrub the stall walls with a dandy brush and soapy water and let the floor dry well before laying the bedding.
Maybe you can even arrange to do this together with the stable owner and the other stallholders. Many stable owners are grateful when they are offered help and together it‘s not only quicker but also much more fun!
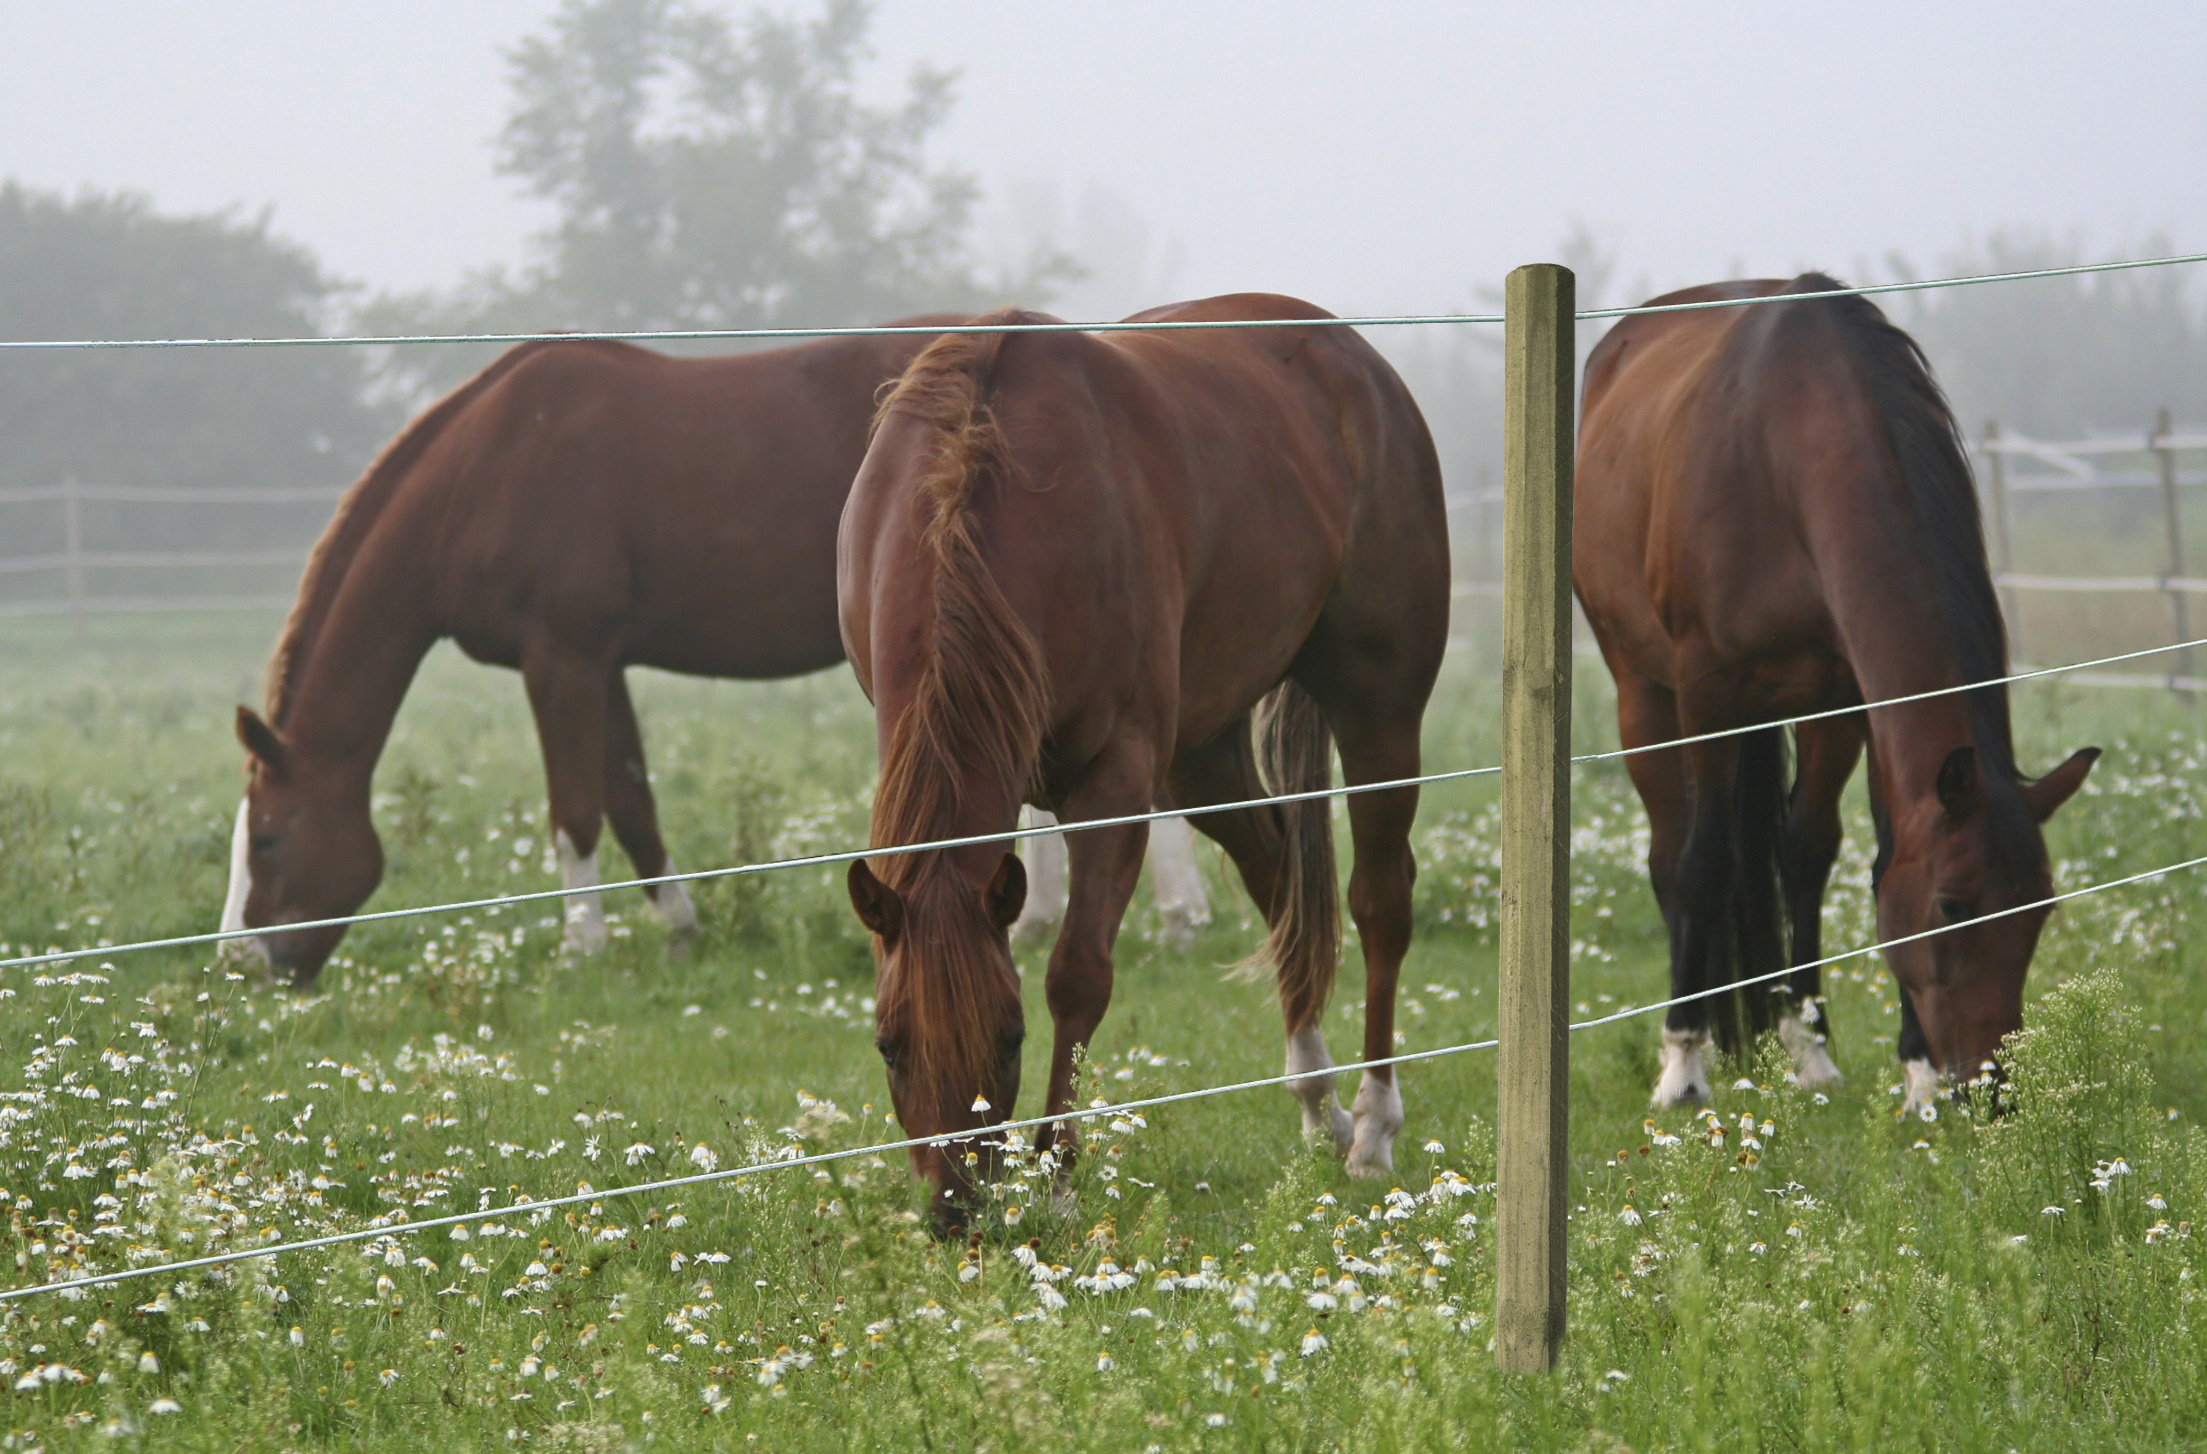
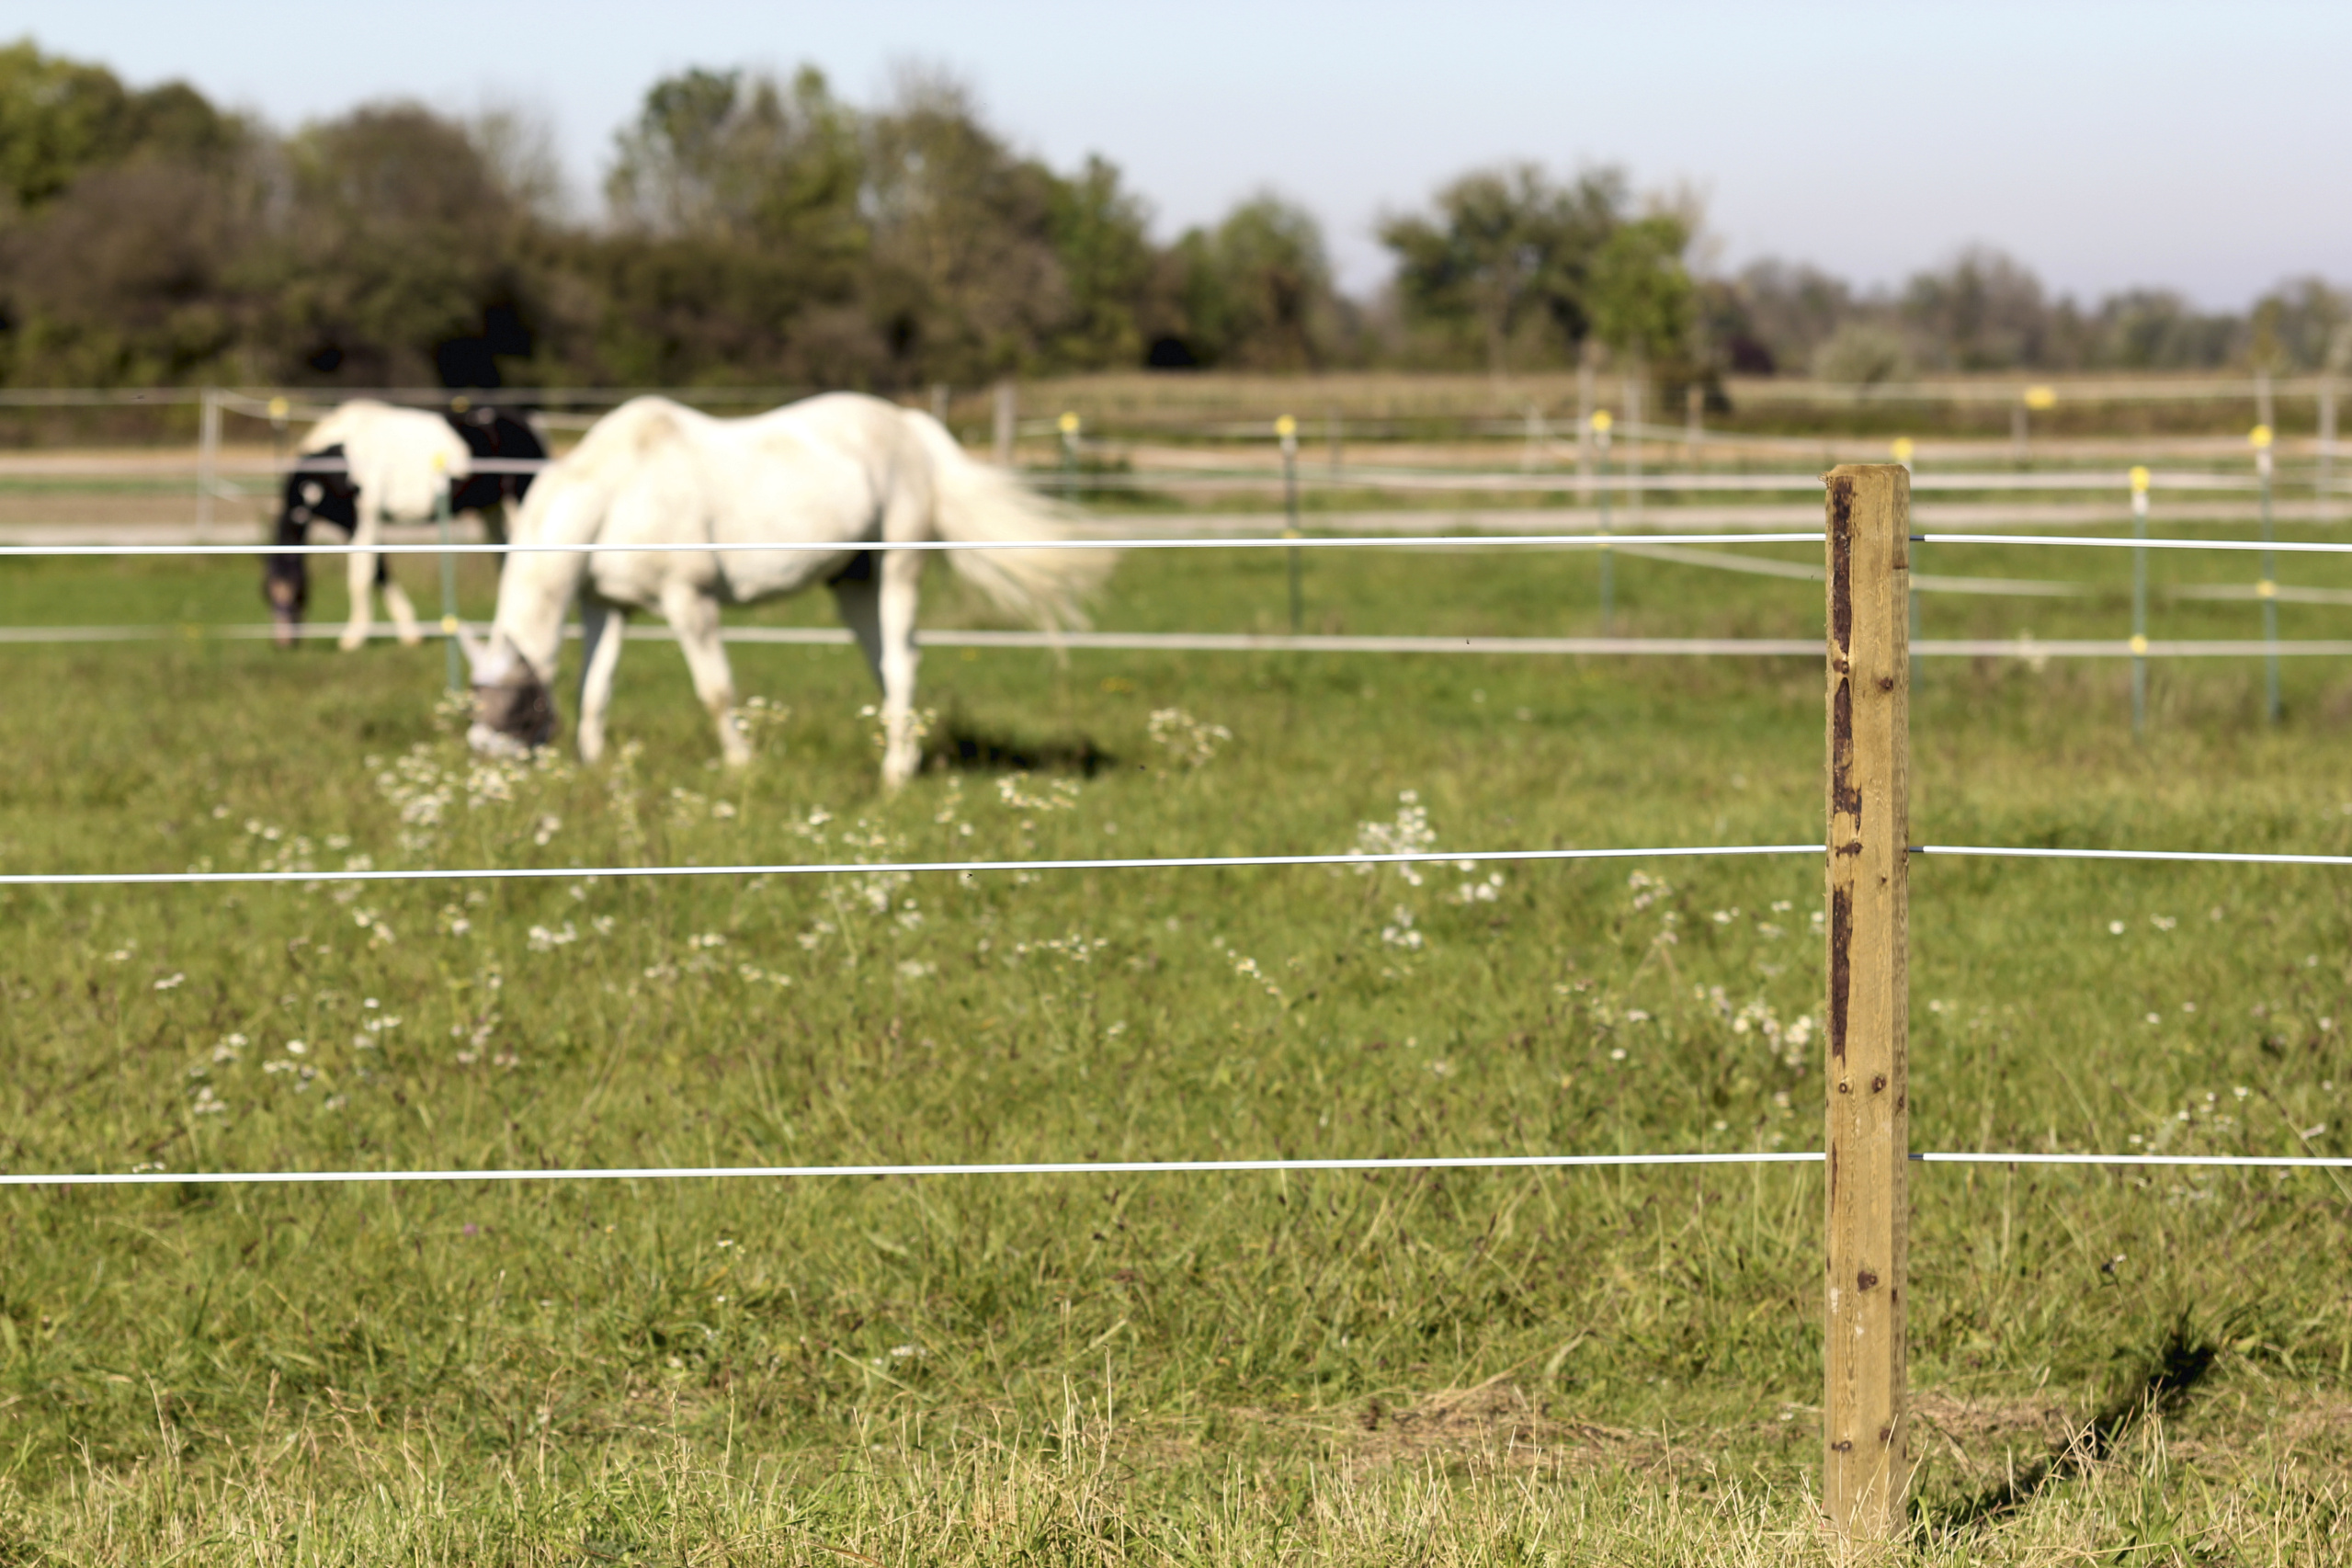
7. Pasture and paddocks
Just like step 6, this may also not apply to everyone but can be done in consultation with the stable owner.
Before the grazing season finally starts again, I walk along all the fences and check if anything needs to be repaired and if the electric fence still works everywhere. I do the same with the paddocks. That way I am able to discover possible weak spots and repair them in time, to prevent my horse from possibly breaking through the fence and wandering off. This is also a good opportunity to check the waterers in the pastures and see if the pipes have not suffered any damage during the winter.
Now we have come to the end of my checklist for spring cleaning in the stable. After I am finished I can start the summer fresh and clean and ready to enjoy the beautiful weather with my favourite four-legged friend!